For many gamers, the PlayStation 4 controller is the preferred choice for gaming. However, opening the controller can be a bit tricky. The first step is to remove the four screws that are located on the back of the controller. Once the screws are removed, you will need to gently pry open the back panel. Be careful not to damage the panel as you do this. Inside, you will see the battery compartment and the circuit board.
You can now remove the battery and any other components that you need to access. With a few simple steps, you can easily open your PlayStation 4 controller and get to work on repairs or upgrades.
Find a flathead screwdriver
One way to find a ps4 is by looking for a flathead screwdriver. The ps4 is located under the ps3 in the back of the ps3. Once you find the ps3, unscrew the ps3 and look for the ps4. The ps4 should be tucked away in the back, so you’ll need to use a flathead screwdriver to get to it. Be careful not to scratch the ps4 while you’re unscrewing it. Once you’ve found the ps4, screw it back in and enjoy your new console .
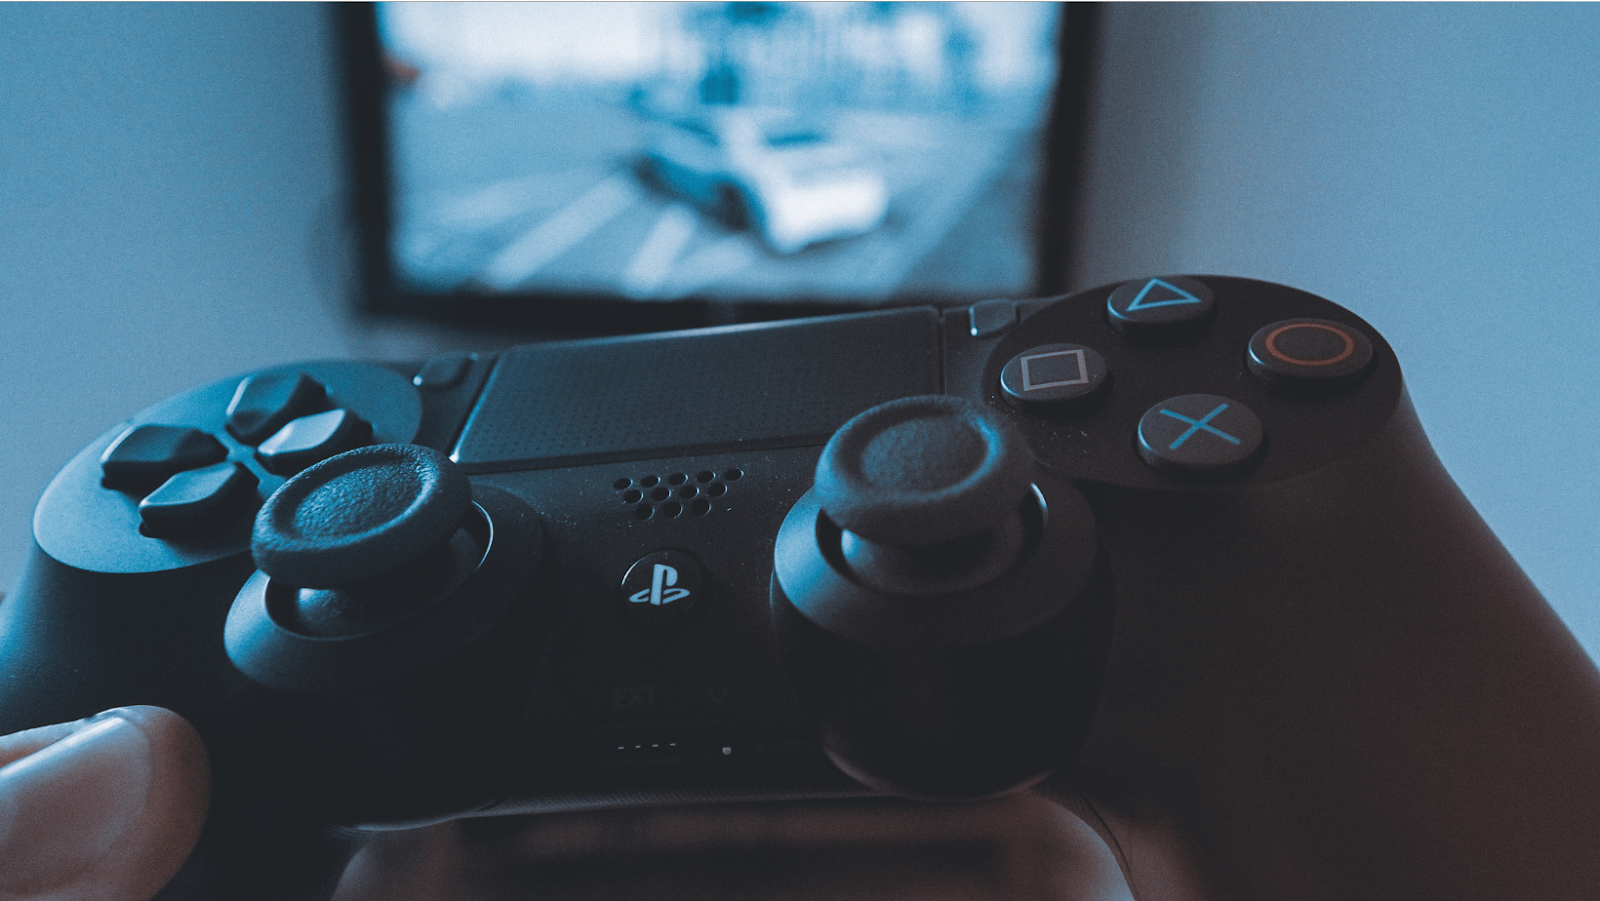
How to open ps4 controller
To open a ps4 controller, start by turning over the controller so that the back is facing up. Then, use your thumb to push up on the tab located at the top of the battery compartment. This will release the latch and allow you to open the compartment. Once the compartment is open, remove the old batteries and insert new ones.
Make sure that the new batteries are inserted in the correct orientation; otherwise, the controller may not work properly. Finally, close the battery compartment and give the ps4 controller a try. If it still isn’t working, check to make sure that the batteries are inserted correctly.
Pry open the two screws on the back of the controller using the screwdriver
To open up your ps4 controller, you’ll need a screwdriver. Pry open the two screws on the back of the controller using the screwdriver. Once the screws are removed, you should be able to gently pull the back panel off of the controller. Inside, you’ll see the battery pack and a few other small components.
Be careful not to lose any of these pieces as you work on disassembling your controller. With the back panel removed, you should now have access to all of the internal workings of your ps4 controller. Have fun exploring and be careful not to break anything
Gently remove the back panel of the controller
To access the ps4 controller’s back panel, gently remove the top plastic piece that covers the ps4 logo. This will expose 4 small screws. Using a Phillips head screwdriver, remove these screws and set them aside. Next, using your fingers or a flathead screwdriver, carefully pry off the back panel of the controller. Be careful not to damage any of the small components as you do this.
Once the back panel is removed, you will have access to the battery compartment, as well as the circuit board and other sensitive components. If you need to clean or repair any of these parts, simply follow the same process in reverse to reassemble your controller.
Remove batteries from controller and replace with new ones
Most ps4 controllers use lithium ion batteries, which can be replaced when they start to wear down. To remove the old battery, start by unscrewing the back panel of the controller. Then, use a small flathead screwdriver to pry out the battery. Once the old battery is removed, insert the new one and screw the back panel back on.
If your controller uses AA batteries, simply pop in new ones once the old ones run out of power. Either way, replacing batteries is a quick and easy process that anyone can do.
Replace back panel and screws, making sure they are securely fastened
Locate the screws along the back panel of your ps4. Remove these screws using a Phillips head screwdriver. Next, pull the back panel away from the ps4. Disconnect any cables that are still attached to the back panel, then set the panel aside. Take your new back panel and align it with the ps4. Reconnect any cables that were disconnected, then replace the screws.
Make sure to screw them in securely, but be careful not to overtighten them. Once all of the screws are in place, you can test your ps4 to make sure everything is working correctly. If everything is working properly, congrats! You have successfully replaced your ps4’s back panel.